To add a PG9914 to a DSC PowerSeries NEO system, enter programming mode, select wireless programming, and then auto-enroll the sensor by pressing the enrollment button on the sensor. You will then need to select a zone, define the zone, choose a partition, and set a zone label for the sensor.
Enter programming mode
- From the main screen of the keypad, press
*+8. - Enter the installer code
- You should see Select (000) Enroll Device on the screen.
Auto-enroll the sensor
- Press
*to confirm that you want to enroll a device. - Open the PG9914 and press and hold the enrollment button until the LED turns solid orange.
- Release the button. The system will detect the device and display its serial number and the next available zone.
Configure zone settings
- Select a 3-digit zone number for the sensor. You can use the default or enter a different available one.
- Choose the correct Zone Definition (or Zone Type) for the sensor (e.g., a motion sensor).
- Select the partition to associate with this zone.
- Set a Zone Label for the sensor to identify it.
- Press
#or*to save the settings when prompted.
Mount and test
- Mount the sensor in its desired location
- Test the device to ensure it is communicating correctly with the panel.
Installation Tips
1. Keep away from heat sources
2. Do not expose to air drafts
3. Do not install outdoors
4. Avoid installation in direct sunshine
5. Do not install near high-voltage electrical lines
6. Do not install behind partitions
7. Mount on a solid stable surface
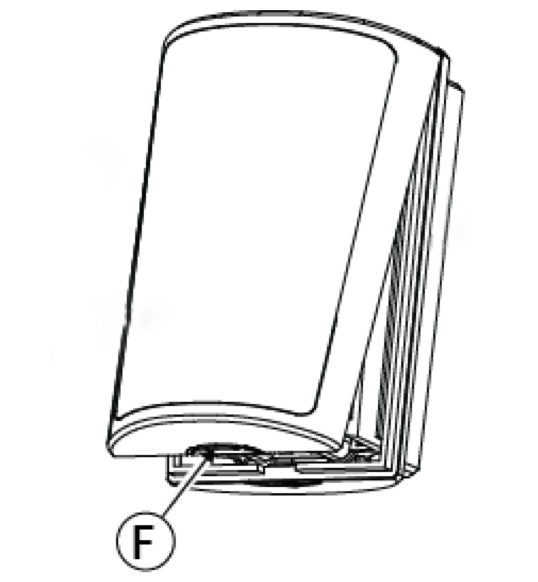
Opening the detector
Using your fingers only, press on the point marked “F” in the drawing, and separate the cover from the base. Do not use a screwdriver.
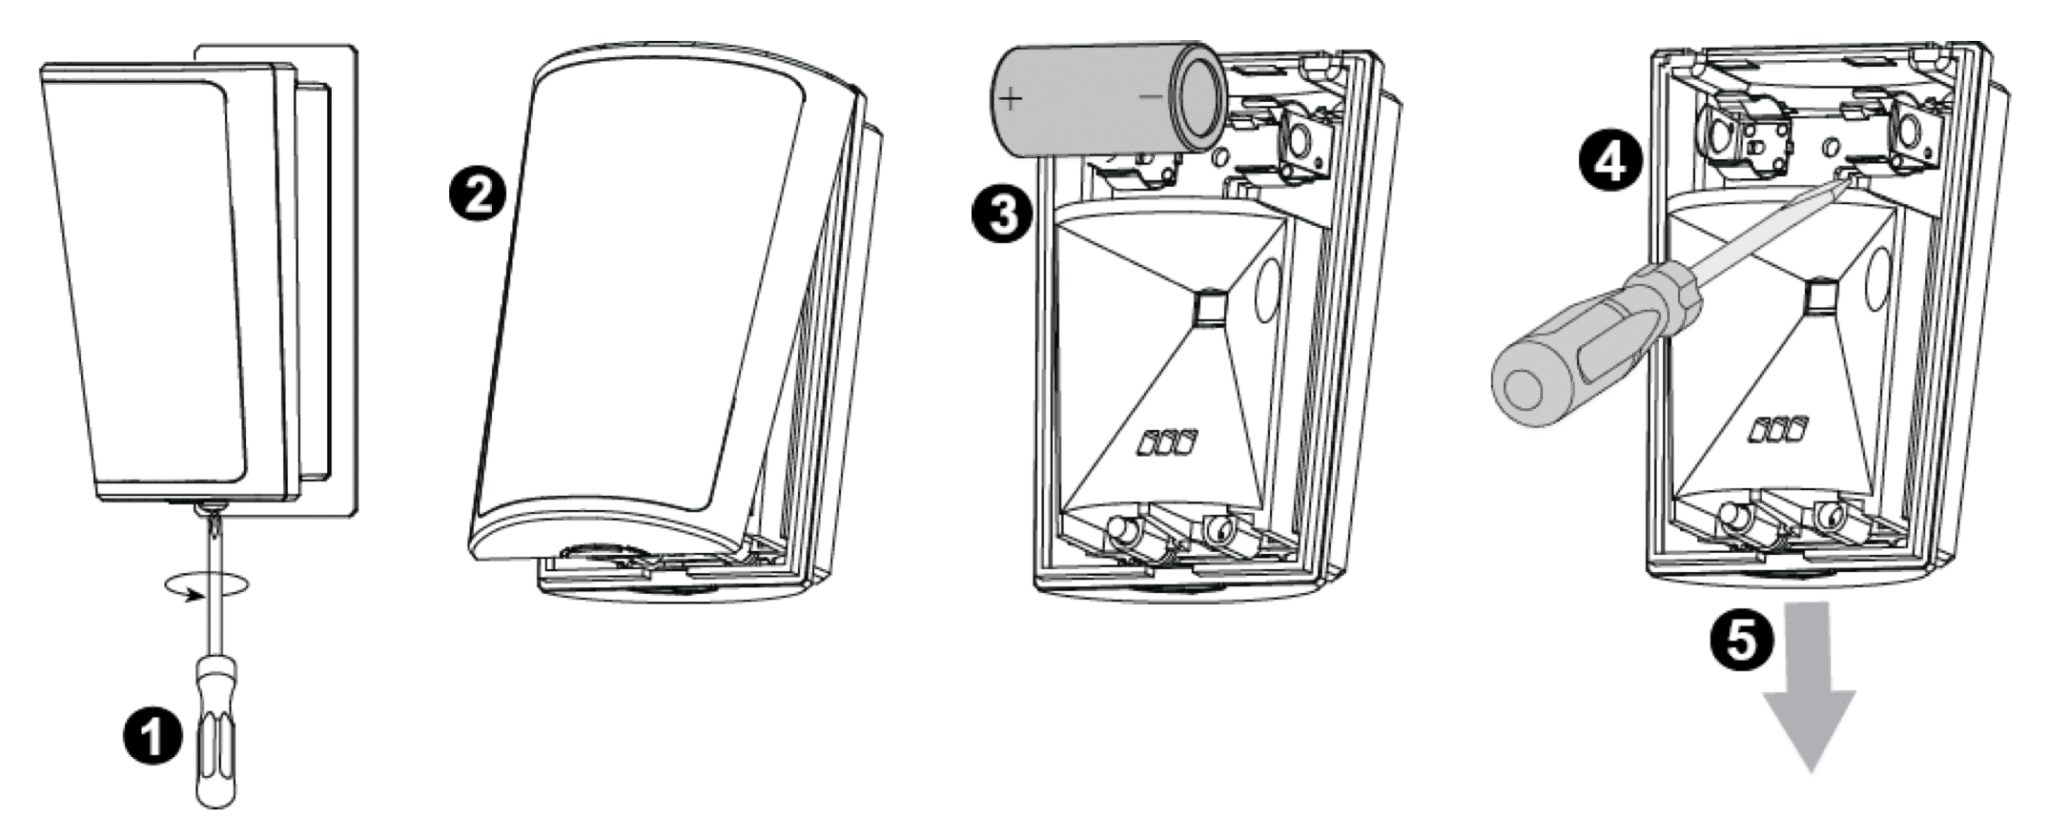
Disassembly from the bracket
1. Release the screw (if a screw was used for the installation)
2. Separate the cover from the base
3. Remove the battery
4. Press on the stopper snap to release the base from the bracket
5. Slide the base downward to remove