Before installation, check the package and make sure that all components are included. Contact your rep or Speco customer service department immediately if something is broken or missing in the package.
Alarm Connection
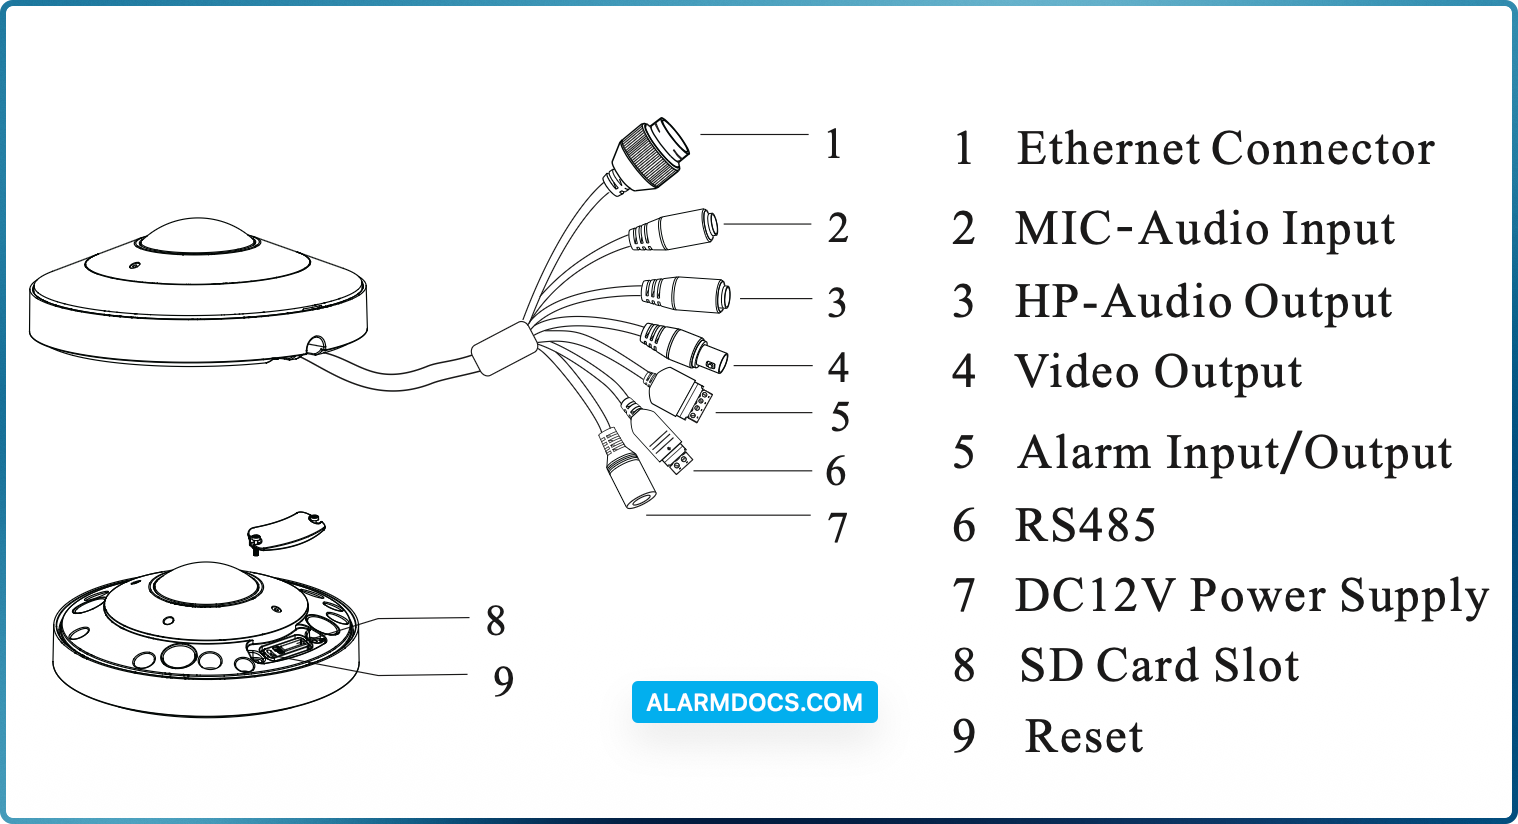
Alarm Input: Join the grounding ends of the sensor and the camera and then connect the signal cable of the sensor to the alarm input port (ALM-INA) of the camera.
Alarm Output: Loosen the screws in the alarm output port. Then insert the signal wires of the alarm output devices into the port of COM and OPEN separately. Finally tighten the screws. Some of the external alarm output devices need the power supply.
Connecting Network Cable
If the RJ 45 connector of the network cable has a jacket and cannot be threaded through the kit, remove the jacket. If the jacket cannot be removed, cut off the connector and install an RJ 45 connector without the jacket.
Installation
Please install and use the camera in a dry environment. You’d better install back the cover less than 4 hours after removing it.
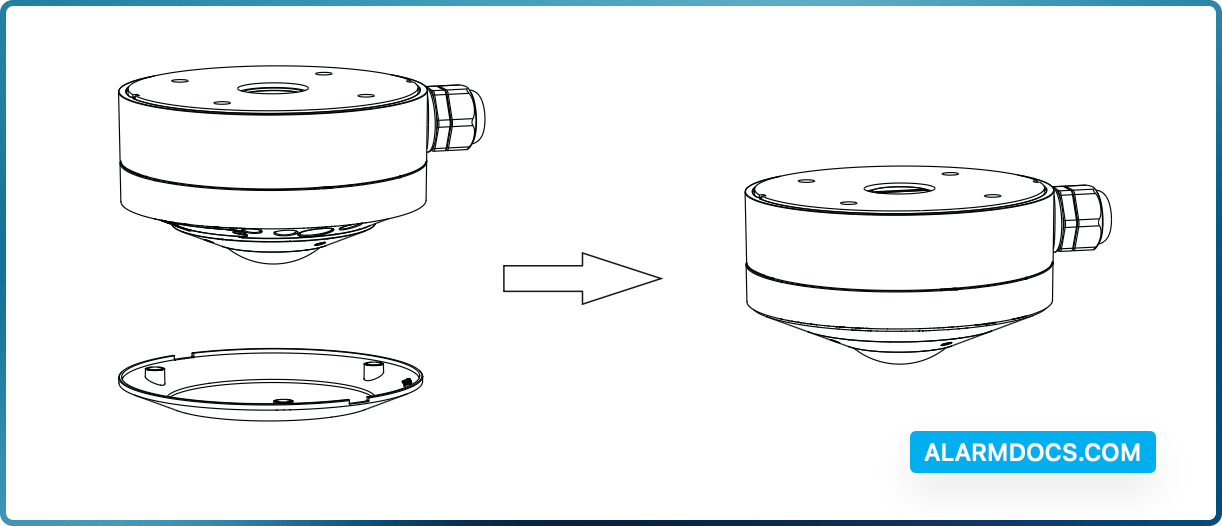
1. Remove the trim ring from the gap of the camera.

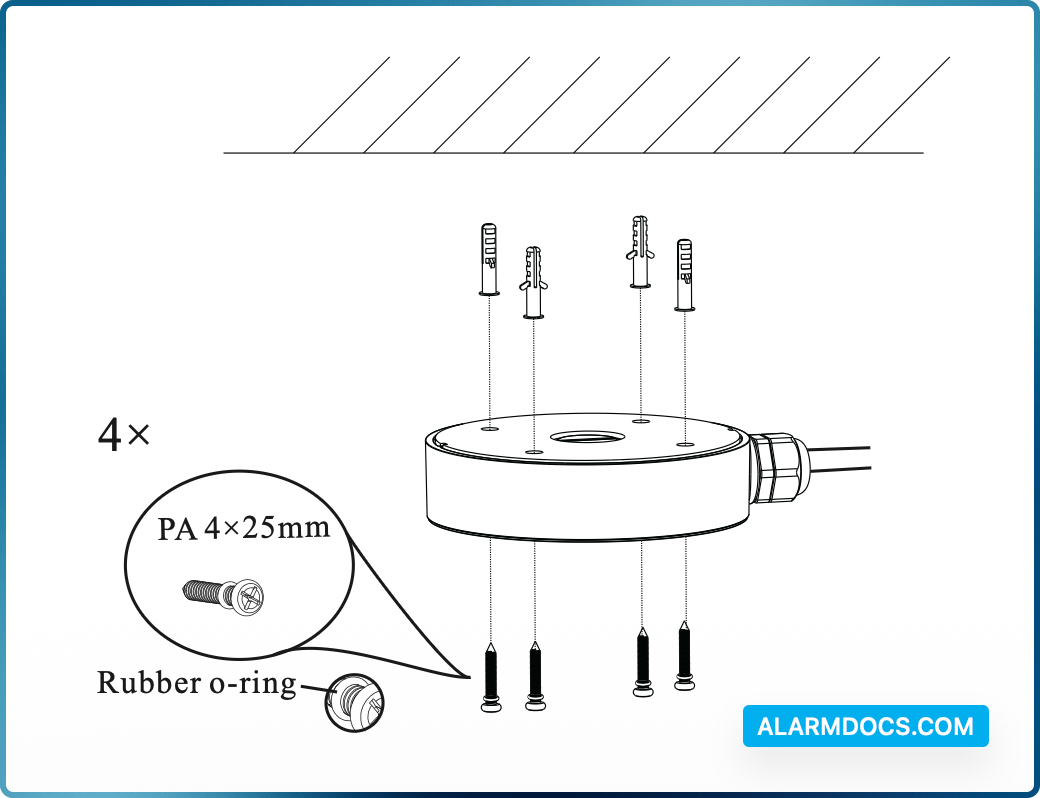
2. Install the junction box onto the wall.
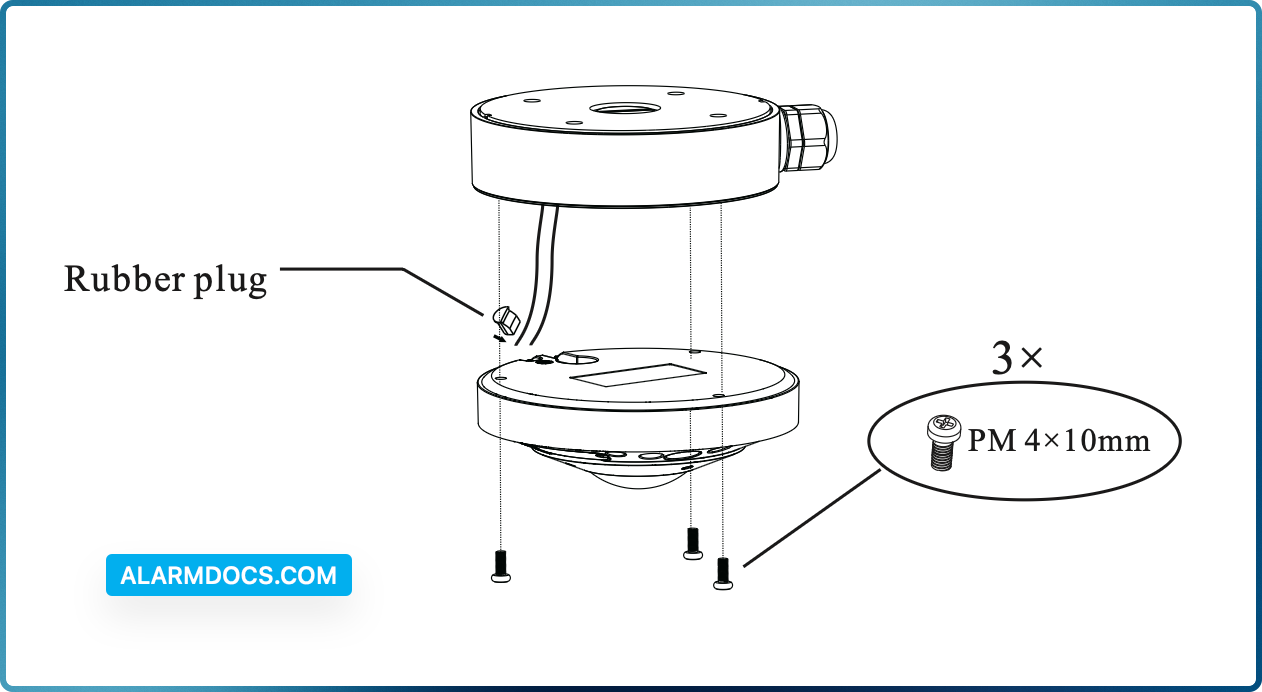
3. Route the cables through the cable hole (take side conduit cabling for example) and connect the cables. Then fasten the camera onto the junction box with screws.
4. Install the trim ring back to finish the installation.
Web Operation and Login
IP Scanner can search for the device on the local network.
Operation
1. Make sure that the camera and the PC are connected to the same local network. The camera is set to DHCP by default.
2. Install IP Scanner from the CD and run it after installation.Or download IP Scanner or Speco Blue Scanner from https://www.specotech.com
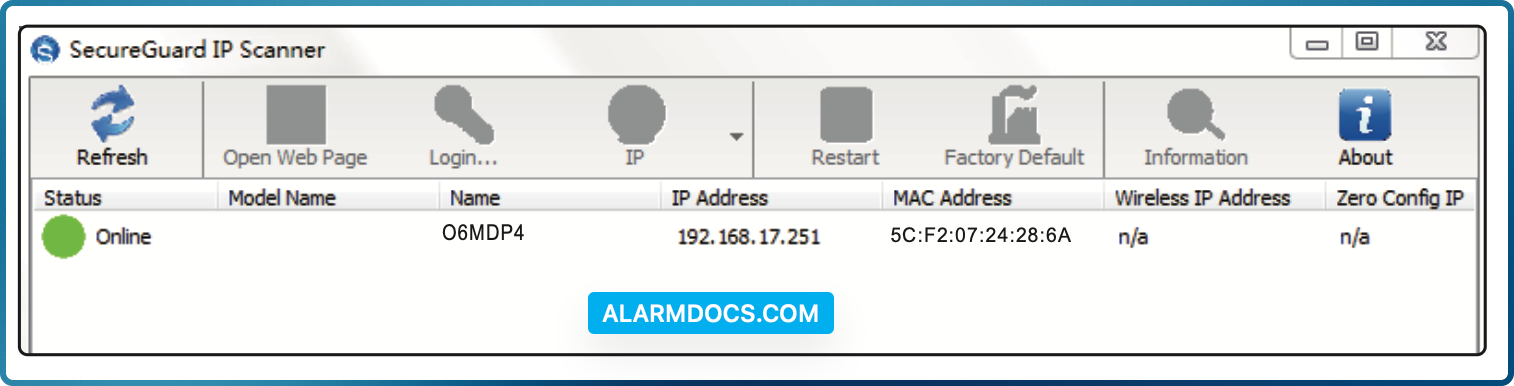
3. In the device list, you can view the IP address, model number, and MAC address of each device. Select the applicable device and double click to open up the web viewer. You can also manually enter the IP address in the address bar of the web browser.
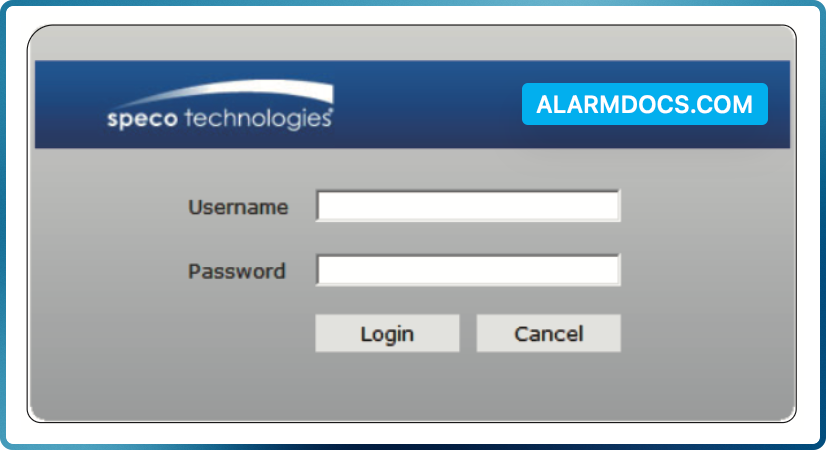
The login interface is shown above. Default user name is admin and password is 1234. After logging in, follow directions to install applicable plugins if prompted.